Commodore 64 was the first computer I ever saw in 1989. Twice in a year I used to visit my grandparents’ house in Kolkata, I used to get one or two hours to play with it. I remember, after a few years how I tried to read a book on Basic, with the help of an English-to-Bengali dictionary. In 1993, my mother went for a year-long course for her job. I somehow managed to convince my father to buy me an Indian clone of NES (Little Master) in the same year. That was also a life event for me. I had only one game cartridge, only after 1996 the Chinese NES clones entered our village market.
Bringing back the fun
During 2014, I noticed how people were using Raspberry Pi(s) as NES consoles. I decided to configure my own on a Pi2. Last night, I re-installed the system.
Introducing RetroPie

RetroPie turns your Raspberry Pi into a retro-gaming console. You can either download the pre-installed image from the site, or you can install it on top of the rasbian-lite. I followed the later path.
As a first step I downloaded Raspbian Lite. It was around 200MB in size.
# dcfldd bs=4M if=2017-01-11-raspbian-jessie-lite.img of=/dev/mmcblk0
I have used the dcfldd command, you can use dd command too. Detailed instructions are here.
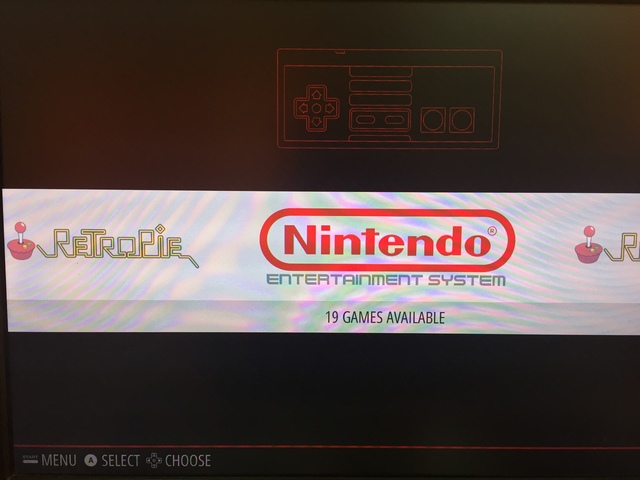
After booting up the newly installed Raspberry Pi, I just followed the manual installation instructions from the RetroPie wiki. I chose basic install option on the top of the main installation screen. Note that the screenshot in the wiki is old. It took a few hours for the installation to finish. I have USB gamepads bought from Amazon, which got configured on the first boot screen. For the full instruction set, read the wiki page.

Happy retro gaming everyone :)