GitHub Copilot is a thrilling new technology that promises to deliver to your code editor a virtual assistant powered by artificial intelligence, and it stirred up considerable controversy when it was released to the general public. Python is among the languages that are particularly well-supported by this tool. After reading this tutorial, you’ll know whether GitHub Copilot is a risk, a gimmick, or a true game changer in software engineering.
In this tutorial, you’ll learn how to:
- Install the GitHub Copilot extension in your code editor
- Transform your natural language description of a task into working code
- Choose between multiple alternative intelligent code completion suggestions
- Explore unfamiliar frameworks and programming languages
- Teach GitHub Copilot how to use your custom API
- Exercise test-driven development with a virtual pair programmer in real time
To continue with this tutorial, you need to have a personal GitHub account and a code editor such as Visual Studio Code or an integrated development environment like PyCharm.
Free Download:Click here to download a free cheat sheet of keyboard shortcuts to make coding with GitHub Copilot even faster.
Get Started With GitHub Copilot in Python
GitHub Copilot is the first commercial product based on the OpenAI Codex system, which can translate natural language to code in over a dozen programming languages in real time. OpenAI Codex itself is a descendant of the GPT-3 deep learning language model. The neural network in Codex was trained on both text and hundreds of millions of public code repositories hosted on GitHub.
Note: You can learn more about GPT-3 by listening to Episode 121 of the Real Python Podcast, featuring data scientist Jodie Burchell.
GitHub Copilot understands a few programming languages and many human languages, which means that you’re not confined to English only. For example, if you’re a native Spanish speaker, then you can talk to GitHub Copilot in your mother tongue.
Initially, the product was only available as a technical preview to a select group of people. This has changed recently, and today, anyone can experience the incredible power of artificial intelligence in their code editors. If you’d like to take it for a test drive, then you’ll need a subscription for GitHub Copilot.
Subscribe to GitHub Copilot
To enable GitHub Copilot, go to the billing settings in your GitHub profile and scroll down until you see the relevant section. Unfortunately, the service doesn’t come free of charge for most people out there. At the time of writing, the service costs ten dollars per month or a hundred dollars per year when paid upfront. You can enjoy a sixty-day trial period without paying anything, but only after providing your billing information.
Note: Be sure to cancel the unpaid subscription plan before it expires to avoid unwanted charges!
Students and open-source maintainers may get a free GitHub Copilot subscription. If you’re a lucky one, then you’ll see the following information after enabling the service:
 GitHub Copilot Billing Status
GitHub will verify your status once a year based on proof of academic enrollment, such as a picture of your school ID or an email address in the .edu domain, or your activity in one of the popular open-source repositories.
For detailed instructions on setting up and managing your GitHub subscription, follow the steps in the official documentation. Next up, you’ll learn how to install the GitHub Copilot extension for Visual Studio Code. If you’d prefer to use GitHub Copilot with PyCharm instead, then skip ahead to learn how.
Install a Visual Studio Code Extension
Because Microsoft owns GitHub, it’s no surprise that their Visual Studio Code editor was the first tool to receive GitHub Copilot support. There are a few ways to install extensions in Visual Studio Code, but the quickest one is probably by bringing up the Quick Open panel using Ctrl+P or Cmd+P and then typing the following command:
ext install GitHub.copilot
When you confirm it by pressing Enter, it’ll install the extension and prompt you to reload the editor afterward.
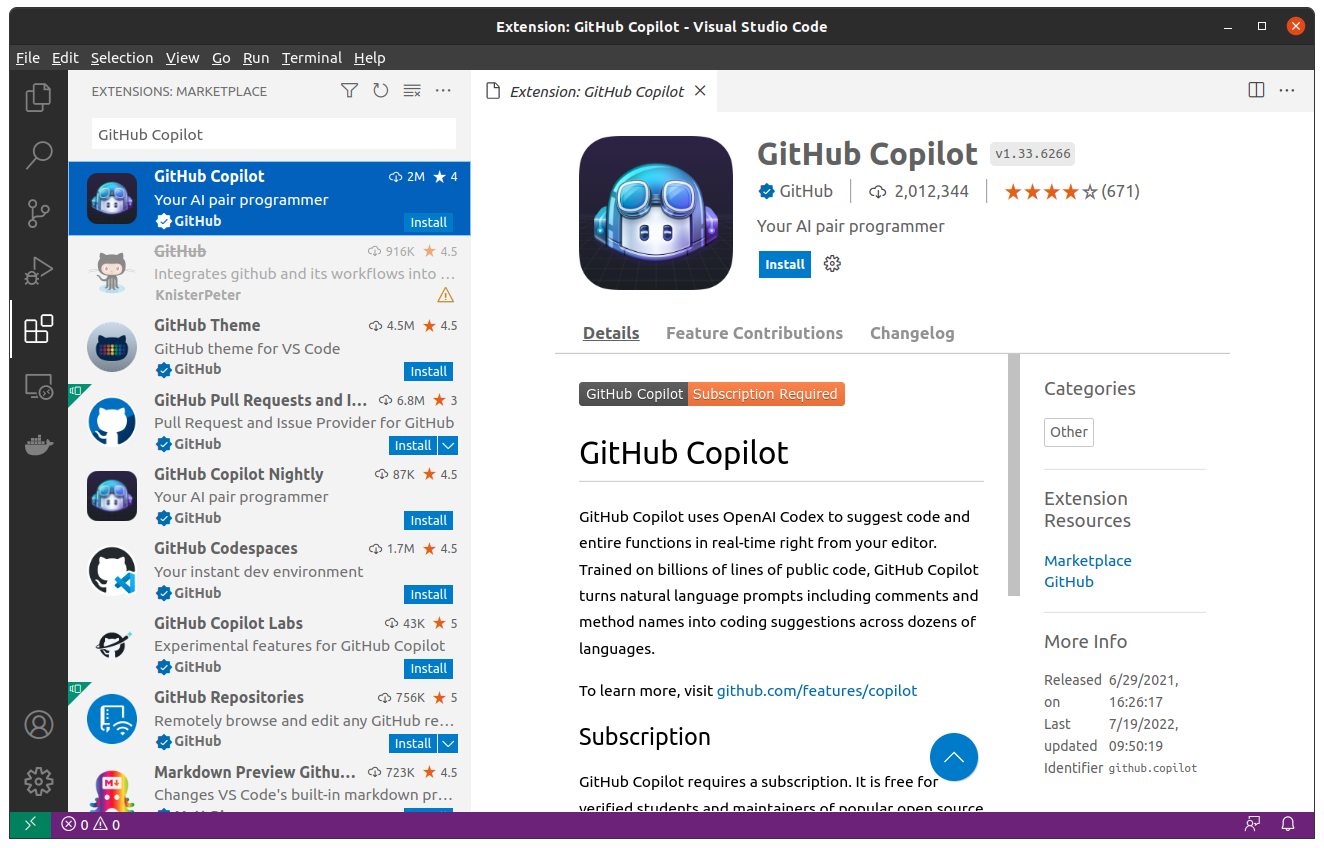
Alternatively, you can find the Extensions icon in the Activity Bar located on the left-hand side of the window and try searching for the GitHub Copilot extension on the Visual Studio Marketplace:
 GitHub Copilot Extension for Visual Studio Code
You might also show the Extensions view in Visual Studio Code directly by using a corresponding keyboard shortcut.
After the installation is complete, Visual Studio Code will ask you to sign in to GitHub to give it access to your GitHub profile, which your new extension requires:
Read the full article at https://realpython.com/github-copilot-python/ »
[ Improve Your Python With 🐍 Python Tricks 💌 – Get a short & sweet Python Trick delivered to your inbox every couple of days. >> Click here to learn more and see examples ]